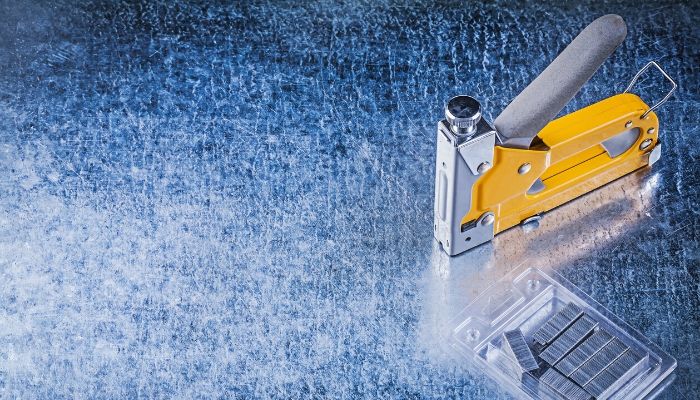
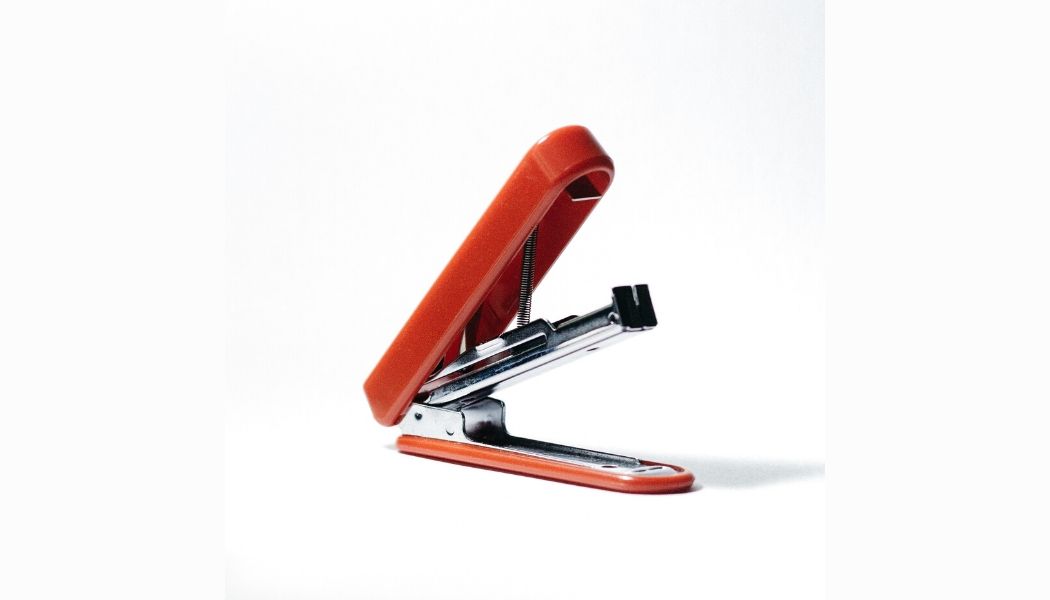
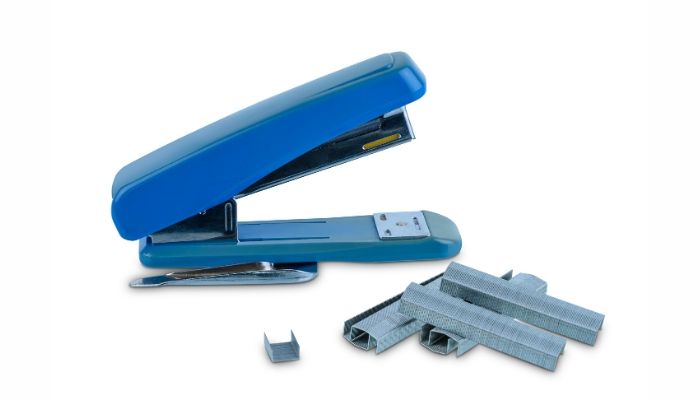
A staple gun is a larger version of your ordinary office stapler. Unlike the office stapler that is used to drive down pins in stationery, this one is used to fix the metal staples in materials of various kinds. This item finds much use in the fields of wood, plastic, and masonry.
As with any other piece of equipment, the use of this item is not without its share of mistakes and oversights. Knowing about these issues in advance is a sure way of staying away from them and even remedying them in the unlikely event that they arise. We craft this article to deal with them.
10 Common Staple Gun Problems and How to Fix Them
Generally, there are ten main issues naturally bound to affect the staple gun. Here below, we identify these issues alongside the intervention measures you may take to remedy them altogether. We believe in empowering our readers to know how best to tackle the problems for their smoother operations.
1. Worn Out Spring
With use, the spring of this staple gun becomes worn out such that it is incapable of maintaining sufficient tension. If and when this happens, the spring cannot generate enough force to fire new staples going forward.
This of course renders the gun inconsequential insofar as the fulfillment of its purpose is concerned. To prevent this issue from arising you should refrain from placing too heavyweights as they wear the springs faster than usual. Instead, you have to adhere to the weight recommended for the spring strictly.
How to fix it?
Follow these steps to reverse the menace if and when it eventually arises:
- Test the spring of the staple gun
- Slide the spring back to the fold and let go of it
- It should contact the bar of staples rapidly
- Replace the spring with a new one if it is too slow
- Straighten the bends and curves to facilitate its tension if it is moderately slow
- Fasten the joints firmly to allow for better support
Also Read: Best Fencing Staple Guns
2. Clogged Hammer
If you use inappropriate staple sizes, there is bound to be the emergence of the clogged hammer. The tinier bits and pieces of the staples get to the crevices within the head of the hammer. This in turn causes the said portions of the gadget to clog.
A clogged hammer is ineffective as it does not slide down smoothly as is naturally supposed to be the case. The prolonged use of this hammer is also likely to cause unnecessary friction not to mention wearing out the user through fatigue. Using staples that are correctly sized will certainly prevent stem this tide.
How to fix it?
The maintenance practices below may help to combat this problem:
- Open the staple gun and skim the hammer by pressing down the stapler’s head
- The hammer should slide downward freely without any impediments
- Dislodge any obstructions using a flat head screwdriver
- De-grease and eliminate all gunk, grease, and dirt using the WD-40 or white vinegar
- Lubricate the hammer to ease the tensions
- Eliminate all forms of corrosion that may arise with use as well
3. Staple Jam
Staple jams arise when the staples move from their repository to the ends of the guns. These jams simply clog and subsequently impede the smooth movements of the staples. In doing that, they may also pose permanent and irreversible damages to the machines altogether.
Staple jams are prevented mostly by slotting in only a few staples at a time. This is to give the machine ample space to release the staples one at a time. Also, it is important to skim the staples and see to it that they are smooth and uniform before using the same.
How to fix it?
Following the steps below is a sure way of combating this problem:
- Use staples of just the correct sizes for the specific staple gun
- Open the staple gun to get rid of the bar of staples
- Slide this spring back and forth to ascertain that the staples may be forced out freely
- Use a butter knife or a flat-head screwdriver to get rid of the visible staples
- If the staple is invisible, slide the screwdriver through the feed to get rid of it
- Slam the stapler’s head around 10 times against a rubber surface just to be sure of removing any residual trace of the stapler
Also Read: Best Upholstery Staple Guns Reviews
4. Hard-To-Pull Trigger
It is not uncommon for the trigger of the staple gun to be too hard to pull. This way, they demand a considerably high amount of pressure to be able to fire a shot. Such an eventuality is certainly not good as not everybody may have the muscle power to generate the necessary force.
Many factors could inform the emergence of this issue. Some of these are poor designs of the handles, manufacturer flaws, wear and tear, and corrosion. You must study the gun keenly know the root cause of the issue before proceeding to remedy it.
How to fix it?
Typically, a hard-to-pull trigger may be easily remedied by following these steps:
- Work on the grip of the handle of the stapler gun
- Lengthen the handle of the gun
- Retrofit a portable jump starter to aid with firing
- Lubricate the moving parts of the machine
- Eliminate any corrosion or corrosive tendencies on the handles
5. Accidentally Letting Off the Staples
When firing the staples, chances are that the gun may accidentally let off the staples. This issue arises due to many factors and because of many reasons. One of these could be conflicting commands especially of the staple gun concerned is electric.
This problem is very bad as it poses risks to the lives of the shooters who use guns. Thus, it is a matter of utmost concern for you to take adequate steps to prevent the problem from arising in the first place.
How to fix it?
Being mindful of these steps will certainly help in stamping out this problem:
- Aim well and keenly before firing a short
- Keep it facing downwards when not in use to minimize the risks that come along
- Put on the necessary safety gears before attempting to use the gun
- Verify the prompts before hitting the shoot button (in case of electronic guns)
- Get some training on matters of aiming
Also Read: Best Electric Staple Guns Reviews
6. Design Flaws
The manufacturers can also mess up when making staple guns. They can craft the designs of the guns in such ways to perform the necessary roles poorly. This is a matter that should be handled with seriousness as it potentially backfires on the user of the gun.
One of the ominous signs of this problem is that the gun does not respond to your prompts as flawlessly as it should. Put differently, there is a disparity between the actual and the expected outcomes of the gun.
How to fix it?
These procedures will certainly help with rectifying this issue:
- Check the manufacturer’s manual carefully to find out the expectations of the gun
- Test each component to see whether they measure up to the conditions spelled out in the manual
- Take note of the variations and the consequences that come along
- Identify your nearest dealer and defer the matter to him
7. Incompatible Co-operant Tools-of-Trade
For these guns to work just fine, everything has to be alright. In case of an error or inconsistency between any two parts or components, a malfunction is likely to arise. For example, using staples that are incompatible with the gun in question can cause inaccuracies in the shots fired.
Prolonged use of inconsistent tools of trade can pose permanent or irreversible damages to the gun itself. It is important therefore to nip this problem at the bud to avoid further damages and malfunctions to the said component.
How to fix it?
To tackle this issue properly, you need to take the steps below:
- Read the manufacturer’s manual carefully
- Find out the specifications of the accessories
- Insist on the original parts and components only
- Exercise great caution when inserting and assembling parts
8. Corrosion
Many parts of the staple gun are manufactured using ferrous metals like iron or steel. With time, these parts corrode as a result of reacting with the moisture contents of the atmosphere. The corrosion is not healthy because it interferes with the smooth functioning of the parts.
Also, when the parts corrode for too long without the necessary attention, the result usually is some permanent or irreversible damages to the object. It is because of these that you want to sort out the problems as early as possible.
How to fix it?
To do, read, and understand these causes of actions:
- Store the items far away from any source of moisture
- Dry these parts thoroughly before storage
- Use steel wool to eliminate all forms of debris that may persist on the parts
- Upgrade the corroded parts from time to time
- Sharpen any parts that may have sustained severe corrosion
9. Metal Fatigue (Wear and Tear)
Nothing is built to last. At one point in time or another, the metal staples will usually sustain permanent and irreversible damages courtesy of the agents of wear and tear. Metals become weaker and less powerful after each spate of engagement.
Though this is an eventuality that befalls each item of this kind, some things may be done to diminish its severity. The failure to put in place these measures may also lead to severe financial losses that are somewhat irreversible.
How to fix it?
Following these vital steps may no doubt aid with tackling this issue:
- Consider moderate use of the gadget
- Avoid banging the item too hard as this weakens the joints
- Upgrade the various parts and maintenance
- Dust and clean thoroughly before storage
- Lubricate the moving parts using the most reliable lube
10. Faulty Electrical Components
For those appliances that derive their power from electricity, there is bound to be the issue of faulty electrical components. If and when these faults arise, the proper functioning of the gadgets is severely impacted. This is not to mention the risks of electrical shocks.
Owing to the potentially damning nature of the faults of these kinds, you must know how to handle these components just fine. That is also necessary to ward off shocks and other kinds of damages that potentially come along.
How to fix it?
Following this well-laid-out regime can certainly be of help:
- Skim every electrical component before engaging the machine
- Fixing and tightening these components before and after each use
- Replacing and upgrading parts regularly
- Placing circuit breakers and overload protection
- Adopting moderate use of the gadgets altogether
Conclusion
As a bonus, we strongly recommend that you remove the source of power before opening the staple gun. This procedure is essential as it wards off the possibilities of accidents arising with use. At the same time, it guarantees your safety while making good use of the gun.
To be on the safe side, you also have to read and adhere strictly to the manufacturer’s guide. Therein lies the details that act as guides to performing the various repair and maintenance chores. Having a qualified electrician work for you is no doubt a bright idea as well.


Can not depress the trigger of my staple gun to dispense staples it will not depress no mater how hard i pull the trigger have to use the handle what is my problem?
unit is not jammed,. will not fire staples. electric connections are ok, but it will not fire. Should I take it or send it in for repair?, where should I send it for repair?.
This is an older unit, about 20 yrs. old, Model T 50.
Best place to send for repair?.